Working with 3D Puff Embroidery - Part 1
SuperUser Account
/ Categories: The Basics Blog

Working with 3D Puff Embroidery - Part 1

With 3D Puff designs here are some important tips to achieve the look your customers want.


Let’s Talk about Foam

There are a few crucial things done differently with puff designs than how you would approach regular flat embroidery/: The “puffing” effect is created by laying down a layer of foam and embroidering over it. The foam creates what is called the loft. 

The thread is what cuts through the foam, so the stitching needs to have twice the density. If you have any flat embroidery as part of the design, it will need to be sewn before the foam is laid down, including any outlines around puff areas. 

What Foam to Use

There are two different styles of puff foam to choose from at most embroidery supply stores:

Classic and High Density

  1. Classic has a softer, rounder effect and is available in heights from 2-6mm.
  2. High Density has a more rigid squared-off feel and is most often found in 3 mm, which is the standard for most puff embroidery.

When choosing the foam, the one thing that will help you get the best result is matching the foam color to the topstitching.

Some Basic Considerations
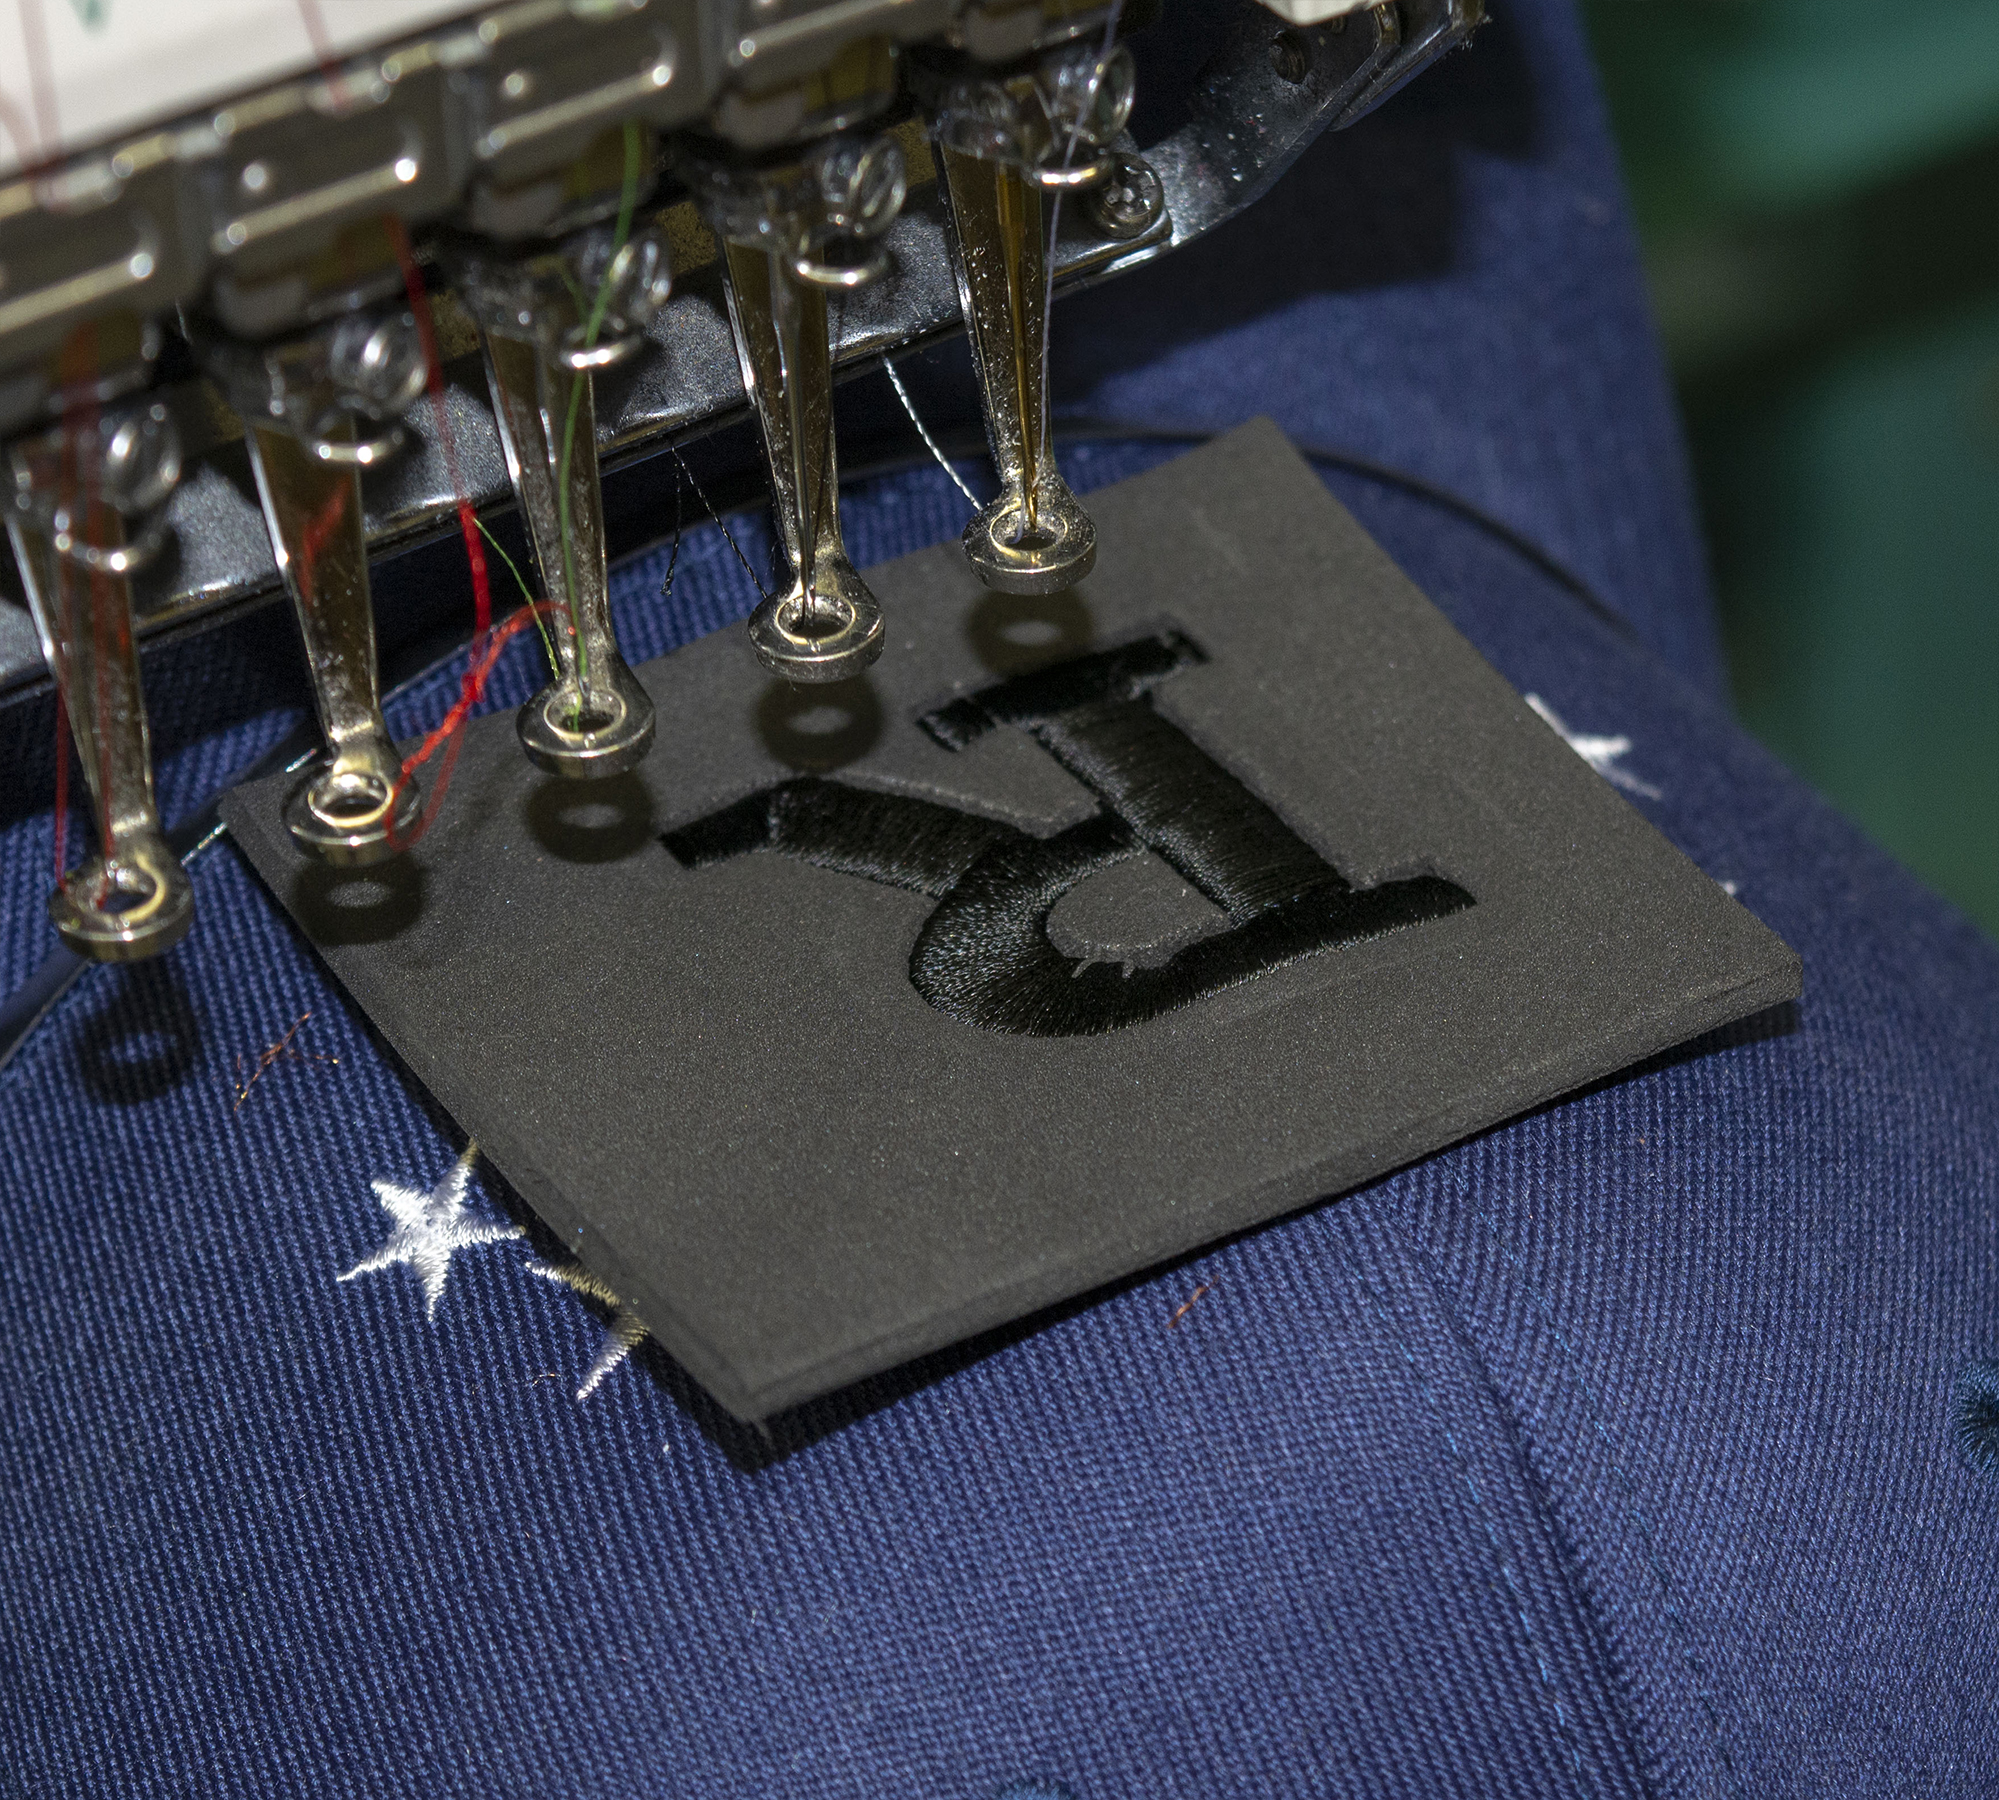
3D embroidery has special density, underlay, and extra color stops necessary to achieve the results you are looking for. 

Note: Because it is dimensional, you should note that you won’t be able to re-use an already digitized flat design for a puff.  You’ll want to create a digitized file specifically for 3D puff.

  1. To cut the foam, the satin stitching (do not use fill stitching as it will flatten the foam) is made at double the density. Any open ends also need to be perforated (more on that in the next blog.).
  2. Limit your design to a few bold letters, or simple columns. Don’t try and write a book in puff; it won't get the results you are looking for. We recommend limiting the width of the stroke to 12 mm because a lot of machines will trim at this width. Some machines can go as wide as 21 mm (such as Tajima) but our rule of thumb is to keep it at 12 mm.

Since puff embroidery uses foam, it adds to the weight of the embroidery. One would only do puff embroidery on hats or other stiffer, heavier-weight fabrics. Also, be aware that raised surfaces can snag easier, so don’t put 3D on cuffs or other places that can get a lot of friction.

So, when working with foam, get your foam from an embroidery supply store in the style that works best for your design. Make sure it is the same color as your topstitching.  Use satin stitching so you don’t flatten the loft of your piece.

Read more in the next installment of the 3D Puff series when we talk
about how to digitize for puff.


Author: Jesse Elliott

Over 30 years of experience in digitizing embroidery and screen printing

Jesse Elliot - Digitizing expert

Previous Article Centering Designs With Trademarks
Next Article Some of the Ignition Team
Print
15377 Rate this article:
5.0

Theme picker

What is the difference between a JPG, PNG and GIF?

What is the difference between a JPG, PNG and GIF?

JPEG also shortened to JPG is a file type developed by the Joint Photographic Experts Group(JPEG) to be the standard for professional photographers. Just like ZIP files are used to compress data, JPGs compress images by reducing sections to blocks...

Continue Reading →

What can vector art do?

What can vector art do?

Vector Artwork does not rely on pixels per inch like a Bitmap. A bitmap and other standard file types such as jpeg, gif and png use pixels(or colored squares) to render complex images at the expense of being able to...

Continue Reading →

What do we mean by Bitmap?

What do we mean by Bitmap?

Bitmap graphics are the most common image format. File formats like JPG, GIF, PNG, TIF and Photoshop PSD, are all bitmap images. They are all made of small points of light called pixels(Fig 1). You may also hear these files called...

Continue Reading →

Vectoring Art and Drawings

Vectoring Art and Drawings

Just like vectoring photographs, vectoring art, or drawings can present a particular set of challenges, from color blends, to textures, to unique materials and hand drawn looks. One of the first obstacles in recreating any piece of artwork is not...


Continue Reading→

Tackle Twill – Go Big!(with less stitches)

Tackle Twill – Go Big!(with less stitches)

Tackle Twill can be a great addition to any embroidery shops playbook. These designs will allow you to produce large filled areas that would normally take tens of thousands of stitches to accomplish with just a few zig-zag stitches around...


Continue Reading →

The Right Software For The Job

The Right Software For The Job

Whether you're doing the work yourself or contracting with a vendor, it's always a good idea to be familiar with and have a copy of editing software. If the need arises it will allow you to make quick and easy...

Continue Reading →

Small Lettering Guide – Part 1

Small Lettering Guide – Part 1

Twill/Denim/Nylon With fabrics such as twill, denim, or nylon, embroidery does not sink much and generally floats on top of the fabric. This creates less of a need for underlay and shorter pull compensation, thus allowing us to go smaller...

Continue Reading →

Small Lettering Guide – Part 2

Small Lettering Guide – Part 2

Short and Wide or Sharp Corners Wide fonts (also known as extended) and fonts with sharp corners are much more difficult to come out nice in embroidery. On corners, both the horizontal and the vertical strokes have more chance of...

Continue Reading →

RSS
12345