Working with 3D Puff Embroidery - Part 1
With 3D Puff designs here are some important tips to achieve the look your customers want.
Let’s Talk about Foam
There are a few crucial things done differently with puff designs than how you would approach regular flat embroidery/: The “puffing” effect is created by laying down a layer of foam and embroidering over it. The foam creates what is called the loft.
The thread is what cuts through the foam, so the stitching needs to have twice the density. If you have any flat embroidery as part of the design, it will need to be sewn before the foam is laid down, including any outlines around puff areas.
What Foam to Use
There are two different styles of puff foam to choose from at most embroidery supply stores:
Classic and High Density
- Classic has a softer, rounder effect and is available in heights from 2-6mm.
- High Density has a more rigid squared-off feel and is most often found in 3 mm, which is the standard for most puff embroidery.
When choosing the foam, the one thing that will help you get the best result is matching the foam color to the topstitching.
Some Basic Considerations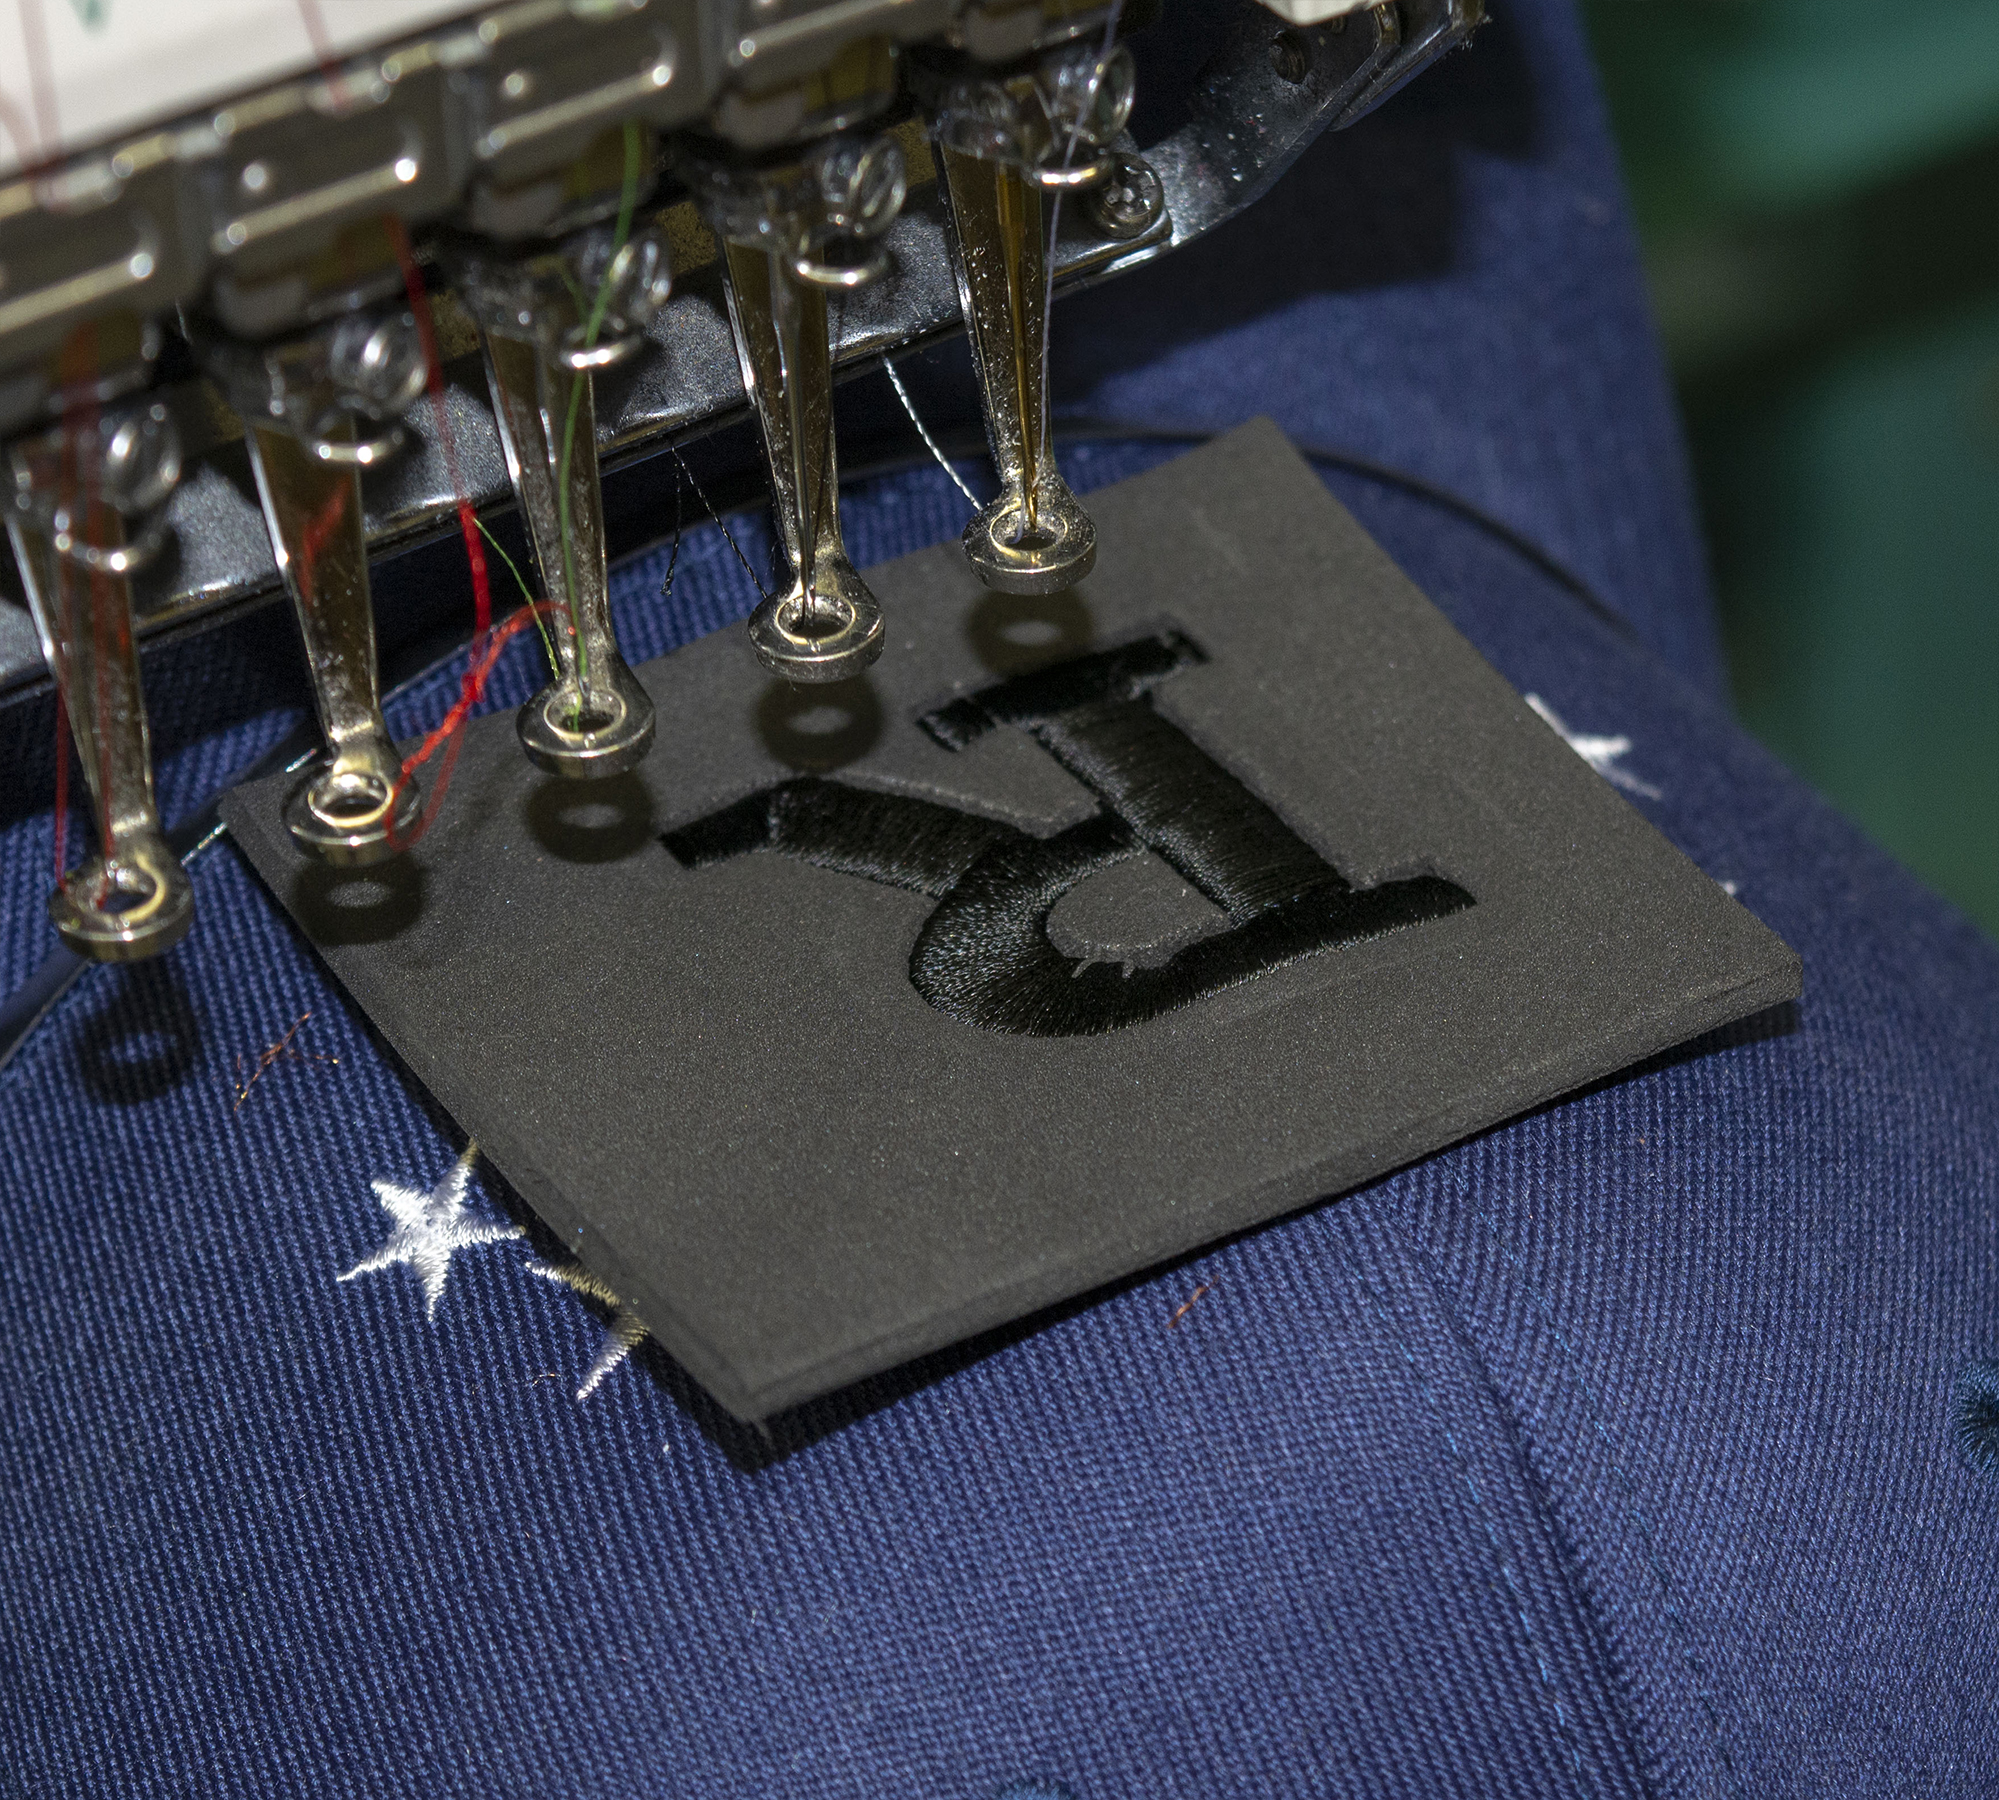
3D embroidery has special density, underlay, and extra color stops necessary to achieve the results you are looking for.
Note: Because it is dimensional, you should note that you won’t be able to re-use an already digitized flat design for a puff. You’ll want to create a digitized file specifically for 3D puff.
- To cut the foam, the satin stitching (do not use fill stitching as it will flatten the foam) is made at double the density. Any open ends also need to be perforated (more on that in the next blog.).
- Limit your design to a few bold letters, or simple columns. Don’t try and write a book in puff; it won't get the results you are looking for. We recommend limiting the width of the stroke to 12 mm because a lot of machines will trim at this width. Some machines can go as wide as 21 mm (such as Tajima) but our rule of thumb is to keep it at 12 mm.
Since puff embroidery uses foam, it adds to the weight of the embroidery. One would only do puff embroidery on hats or other stiffer, heavier-weight fabrics. Also, be aware that raised surfaces can snag easier, so don’t put 3D on cuffs or other places that can get a lot of friction.
So, when working with foam, get your foam from an embroidery supply store in the style that works best for your design. Make sure it is the same color as your topstitching. Use satin stitching so you don’t flatten the loft of your piece.
Read more in the next installment of the 3D Puff series when we talk
about how to digitize for puff.
Author: Jesse Elliott
Over 30 years of experience in digitizing embroidery and screen printing
