Placing a Revision and Uploading Additional Files
We want to make sure our order placement experience is as smooth as possible be it your 1st or 100th order with us.
Today we will go over placing a revision for a change on your design and adding a new file for our staff to reference while making the necessary adjustments.
Placing a revision takes 3 simple steps:
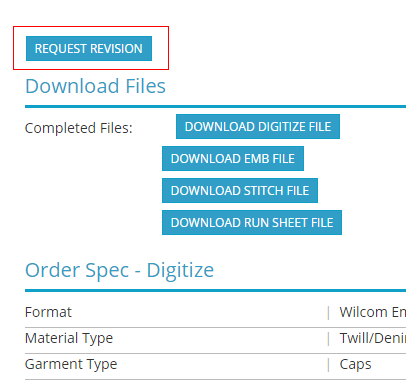 Img 1 – Request Revision button on Order Page
- Open the page of the order you would like us to revise.
- Click on the Request Revision button at the top of the order page(img 1).
- Type in your revision notes for our staff to follow(img 3).
Once Submitted, your request will go to our artists for the necessary adjustments to be made.
Adding Additional Files to a Revision
 Img 2 – You can add up to 3 files to any revision.
There is one additional, and very helpful, step to making the revision process be as accurate as possible, and that is sending us a file of your stitchout or print, or even a drawing on top of our proof, so that we can see what issues are caused by the art we provided, and help us provide the best solution or fix.
To add additional files to your order in a revision request, simply check the checkbox underneath the comments section as illustrated below(img 3)
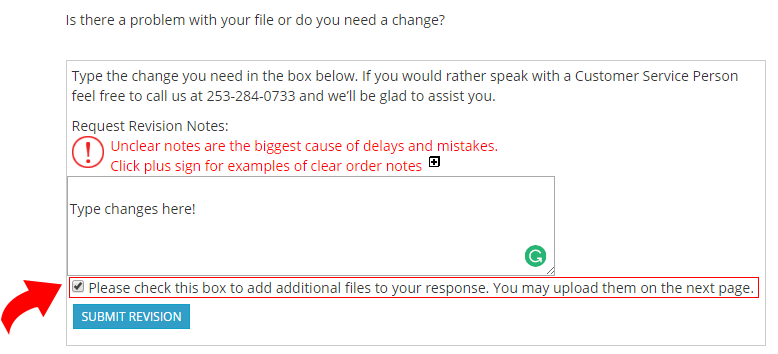 Img 3 – Revision text box and add additional files option. Clicking submit with the box checked will open Img 2
This is also a good way to submit new, or replacement elements.